
How to Take Good Instagram Photos on Your Phone: A Step-by-Step Guide
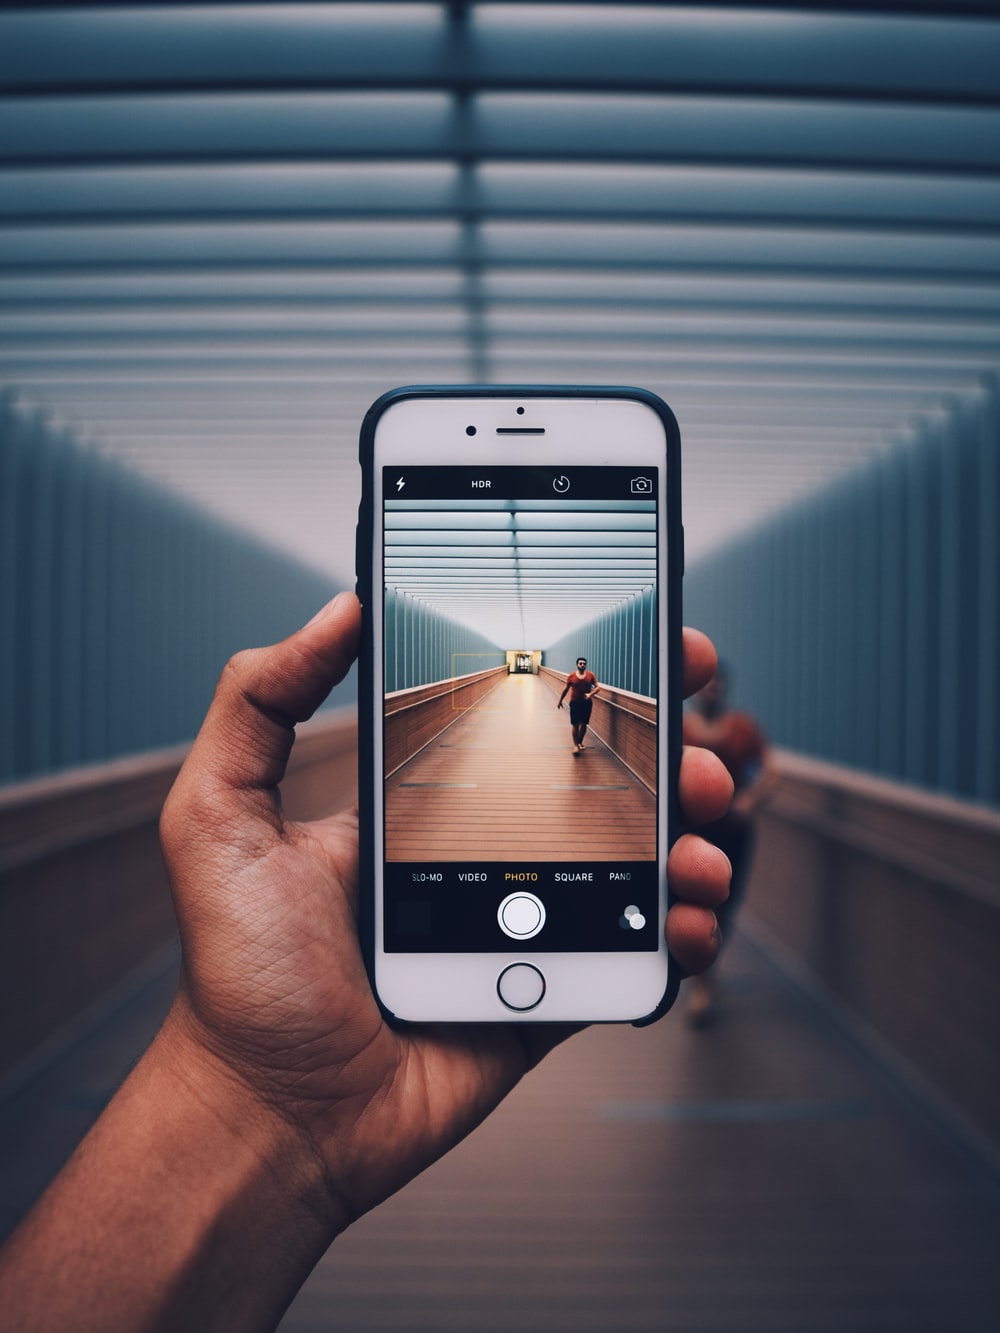
Figure out how to take great Instagram photographs utilizing just your telephone, and some Instagram picture thoughts to rouse your feed and gain new devotees.
Recall the principal cell phone cameras? Furthermore, the grainy, foggy, inferior quality photographs they delivered?
All things considered, nowadays telephone photography is prepared to do some lovely noteworthy accomplishments. Also, dissimilar to that massive DSLR that you pull out for excursions, it’s current reliably.
Figuring out how to make unbelievable efforts utilizing just your telephone is the most ideal approach to stick out and construct a solid presence on Instagram.
In this post, you’ll figure out how to take great Instagram photographs utilizing just your telephone, and some Instagram picture thoughts to rouse your feed, and if artsy stuff isn’t for you, check out what they have on UIT institute.
Step by step instructions to take great Instagram photographs on your telephone
Imagine you have to take photos of car painting services in Glendale business or something for roadside assistance app, and you don’t know how to. Well, figuring out how to take great photographs on your telephone requires seeing some fundamental standards of structure and lighting, and sharpening your own senses as a picture taker. You simply need to adhere to a couple of straightforward guidelines. As soon as you get through these steps some bigshot mortgage broker in Los Angeles will be requesting your help.
Stage 1: Use regular light
Lighting is the establishment of a decent photograph. Seeing how to utilize light is the first and most significant guideline of getting incredible photographs utilizing just your telephone.
Try not to utilize your blaze for regular light, which makes photographs that are more extravagant and more splendid.
Ablaze can level out your photograph and wash out your subject. In the event that you can’t shoot outside, take photographs close to windows or insufficiently bright rooms. Indeed, even around evening time, it’s desirable to discover wellsprings of encompassing light, similar to streetlights and store windows. Utilize everyday objects around you, even when outside, using your car’s f150 tail lights to get that reddish tone could make for a very original portrait.

Stage 2: Don’t overexpose your pictures
You can light up a photograph that is excessively dim with altering apparatuses, yet there’s nothing that can fix a photograph that is overexposed.
Forestall overexposure by changing the lighting on your screen: tap and slide your finger up or down to change openness.
One more approach to forestall overexposure is by tapping your finger on the most splendid piece of the edge (for the situation above, it would be the windows) to change the lighting prior to snapping your photograph.
Stage 3: Shoot at the perfect opportunity
There is an explanation photographic artists love brilliant hour. This season of the day, when the sun is low not too far off, makes each photograph more wonderful. It’s inclination’s Instagram channel.
In case you’re taking shots in the early afternoon, mists are your companion. It’s difficult to have a decent chance under direct daylight, which can be cruel in photographs.
Mists diffuse the light from the sun and make a gentler, really complimenting impact.

Stage 4: Follow the standard of thirds
Structure alludes to the game plan of a photograph: the shapes, surfaces, colors, and different components that make up your pictures.
The standard of thirds is one of the most notable organization standards and alludes to a basic technique for adjusting your picture. It partitions a picture into a 3×3 network and adjusts the subjects or articles in a photograph along the matrix lines to make balance.
For example, you can focus your photograph:
In any case, you can likewise accomplish a satisfying impact with “adjusted unevenness”, where the subject is askew however offset by another article. For this situation, the blossoms are orchestrated in the lower-right space of the photograph and are adjusted by the sun in the upper left corner.
Professional tip: Turn on the gridlines for your telephone camera in settings, and use them to work on adjusting your photographs.
Stage 5: Consider your perspective
When you snap a picture on your telephone, you likely hold it up around eye level and snap, isn’t that so? That is the thing that every other person does, as well. Oppose this regular inclination assuming you need to take fascinating, startling photographs.
Taking photographs from an alternate vantage point will give new viewpoints, in any event, with regards to a natural spot or subject. Have a go at shooting from a higher place or beneath, squatting low to the ground, or scaling a divider (in case you’re feeling aspiring).
Try not to break your leg in the quest for the ideal shot, however, challenge yourself to see things according to another viewpoint.
Stage 6: Frame your subject
Leaving space around the point of convergence of your photograph can add more visual interest than zooming in. Now and again you get an astounding subtlety that makes the photograph far and away superior, similar to the moon high in the sky of this photograph:
In contrast to a camera with a movable focal point, your telephone camera “zooms in” by contracting your field of view. As a result, you are simply pre-trimming your picture. This can restrict your alternatives for altering later, and you may miss fascinating subtleties, so try not to do it.
All things being equal, simply tap your photograph subject or point of convergence to concentrate the camera.
Assuming you need to give yourself much more alternatives, you can purchase an outer focal point that fits your telephone.

Stage 7: Draw the watcher’s eye
In photography, “driving lines” will be lines that go through your picture that draw the eye and add profundity. These may be streets, structures, or normal components like trees and waves. If still life isn’t your choice of subject, feel free to embark on choosing something a little more “out there”, for example, fire sex dolls, because art is supposed to make you question your comfort bubble. Of course, if you’d rather start with something simpler, you can always turn to animals – fish could be interesting subjects, and you would learn to use water to your advantage, just make sure to check out the fishing forecast before you embark on a journey to your nearest lake or river.
Stage 8: Add profundity
It’s not difficult to zero in exclusively regarding the matter of your photograph, regardless of whether that is an individual or an attractive cut of pizza. However, photographs that incorporate layers, with examples or articles behind the scenes just as the closer view, are normally fascinating because they offer more profundity. Using smoke will get you that 80s grunge aesthetic, and help your subject relax and act more natural or candid in photos, using CBD gummies might help as well.
Stage 9: Don’t neglect to get innovative
Some photographs on Instagram are excessively well known to the point that they become platitudes, rousing a whole Instagram account devoted to rehashing pictures. Try not to get so up to speed in Instagram photograph drifts that you lose your inventiveness.
You need to stand apart from different brands on Instagram, so consistently challenge yourself to track down a new point on a typical subject. This will likewise assist you with building up a particular and significant brand character. Use policy solver to make sure your work is safe.